Let me preface this post by saying that I do indeed know what I am talking about – I have worked with antique quilts for almost 10 years. There are plenty of other experts out there, and each person will have their favorite method or technique to share. So if you read something different somewhere else, please feel free to get back to me (or them) with questions. We certainly don’t want to damage any of these priceless treasures.
Number one, I will always say, if it’s an old quilt and it doesn’t have to be washed, then don’t wash it. If it smells funny, try a vacuum attachment with pantyhose over the nozzle.
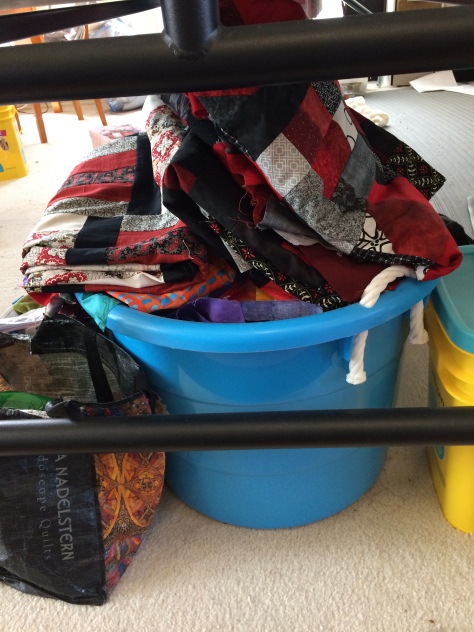
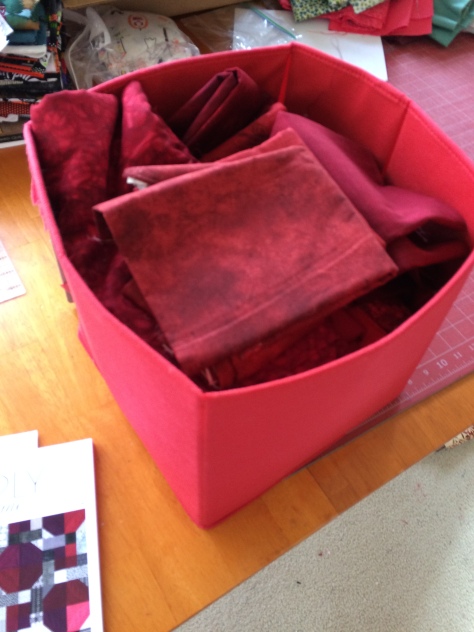
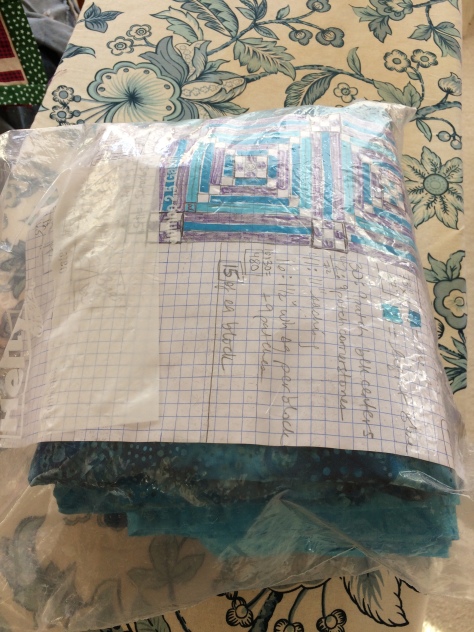
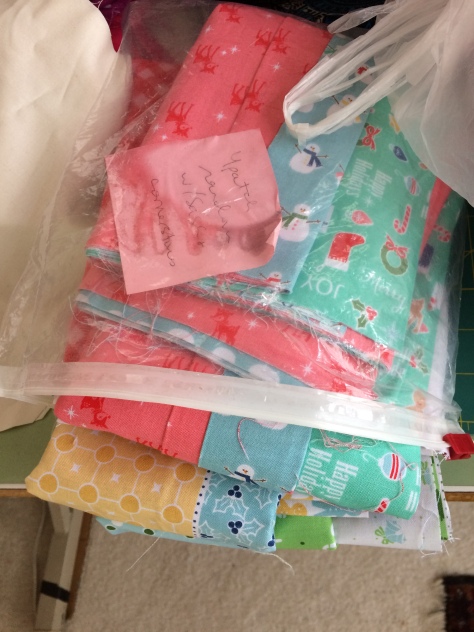
I do tell people with ANY quilts, that they should not be stored in plastic airtight containers because any moisture within will cause damage.
If you store them in a cedar chest, ensure it has been sealed (the wood). Otherwise the stain can leach out and become part of your quilt. If not sealed, you can use a white cotton sheet as a protector on the inside of the chest as lining.
Regardless of where they are stored, the quilts should be aired out about every six months. When they are put away, they should be folded differently than they were before. That will help ensure the quilt doesn’t have creases from being folded the same time after time.
And they should be stored somewhere with climate control. My family heirlooms were in an unfinished cedar chest in a garage in Phoenix. That was not good for my quilts. The unintentional positive consequence is that I have solid, first-hand experience about trying to restore these quilts.
My favorite method of storage that I’ve heard from a client was to stack the quilts, laid out, over a spare bed in a room with minimal light. This will protect the quilts, they can be rotated and they can air out while also not being folded.
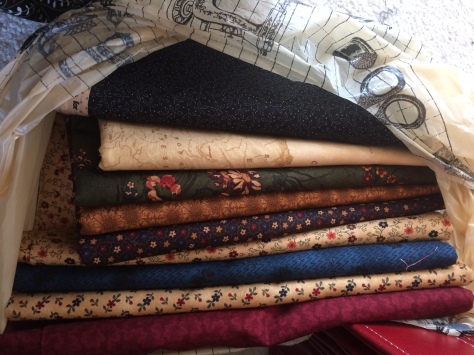
OK, down to brass tacks. The most important thing I can tell you is that if you know anyone that knows about antique fabrics, HAVE THEM CONSULT YOU ON THE FABRIC AGE FIRST! I just restored a quilt that was made in 1965 but had much older fabrics contained within, some that looked as old as 1920’s.
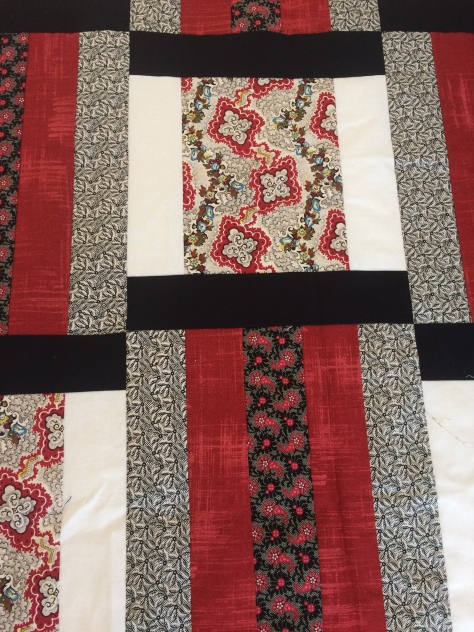
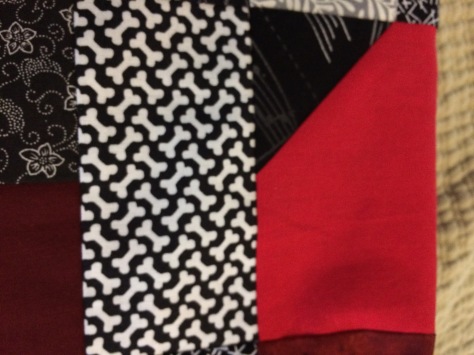
The reason that bold statement is so important is that some fabrics are fugitive. Yes, think Harrison Ford on the run. Because of the mordants (the stuff that makes the dye stick to the fabric) or the nature of the dye (walnuts), some fabrics will disintegrate upon contact with water, others might stain any other piece they touch (usually reds). This is especially true of anything older than 1930’s.
How to know? Well, if you feel confident that you can handle this process, you can do a spot test. Get the head of a q-tip wet and rub it on an inconspicuous part of the fabric. If the color comes off on the q-tip or bleeds at all, STOP and try to dry the spot. If the fabric starts to shred AT ALL, STOP. If nothing happens and it dries just fine, continue. So if you are sure you have a quilt with fabric 1930’s and younger, here’s what you do:
- Take off any jewelry that could catch on fibers.
- Fill your bath tub partway with warm water.
- Let the water sit for 15-20 minutes for the chlorine to dissipate. This will make the water be less harsh, so to speak, on your possibly fragile fibers.
- Place the quilt in the water. Gently squeeze the quilt with your hands so the water soaks in through the layers.
- Swirl the quilt around a bit in the water. You will likely see some discoloration in the water. If the water turns dark yellow or brown, you will want to repeat the process until the water stays relatively clear.
- If you would like to use soap, you can either use the first or second bathing of the quilt to wash it. I can only recommend what I have used: Orvus, Antique Quilt Wash/Soap or Retro Clean. It you use these to spot clean, just know that you may end up with water stain circles around that spot. So it’s better to wash the entire thing than just a few spots (in my opinion).
- When you are ready to drain the water, pull the tub plug and push the quilt to the side of the tub. Don’t wring it or squeeze, just push it gently. Get the quilt up to the edge of the tub.
- If you need to rinse out the soap, or rinse out the quilt again (due to how dirty the water was), repeat steps 2-5 and then 7. Once you are satisfied with the cleanliness of the wash water, move forward to step 9.
- After draining the tub, push the quilt against the tub walls to remove as much water as possible.
- Lay towels on a floor (whatever room you can find space, preferably without a lot of direct sunlight). Gently take the quilt to this area and spread it out manually, over the towels. Turn a fan or ceiling fan on over the quilt to let it dry.
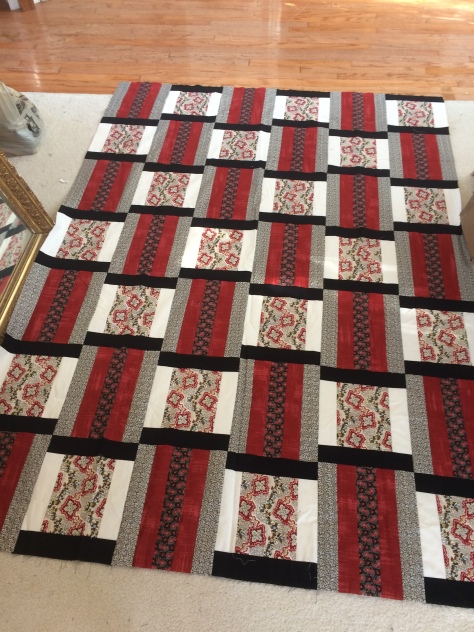
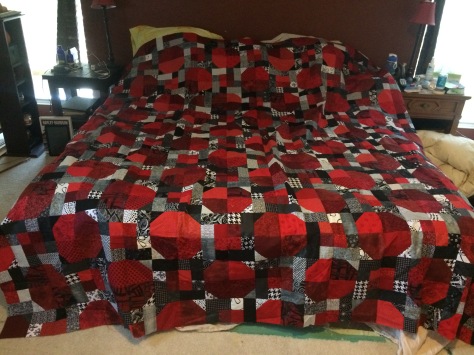
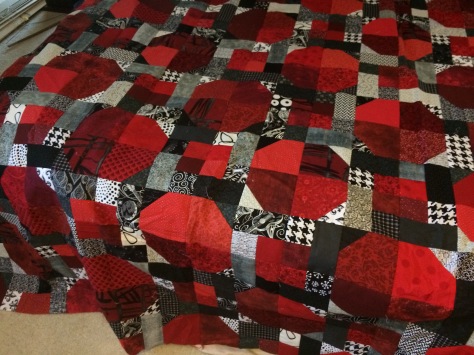
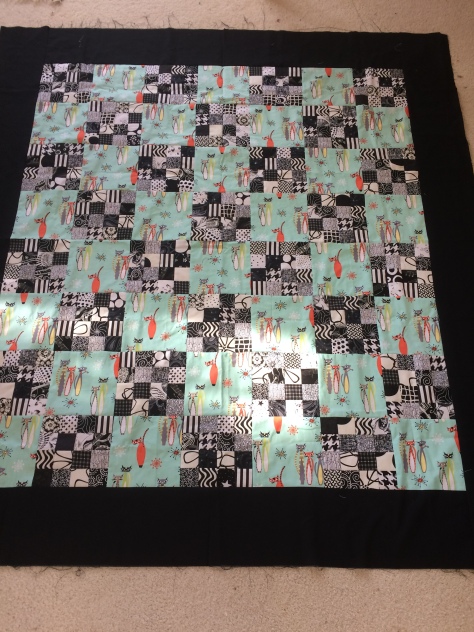
- IF YOU HAVE A QUILT TOP and not a full quilt that you are needing to wash, you must be EVEN more careful with the quilt top. Those fibers and seams are much more prone to tear than after the quilt has been finished.
Oftentimes, a washing like this will not remove hard set stains. It will remove general discoloration from aging, and can lighten dark spots, if it doesn’t remove them. It will give your quilt a fresh smell and brightness.
Again, if you are unsure, please ask me or someone who knows about antique quilts or textiles. I promise you’d rather do that than end up with a damaged quilt.


You must be logged in to post a comment.